Vue2 |
您所在的位置:网站首页 › vue router 三级路由 › Vue2 |
Vue2
|
Vue2—router(配置路径、路由跳转、相关API、多级路由、路由守卫,两种工作模式)
目录
Vue2---router(配置路径、路由跳转、相关API、多级路由、路由守卫,两种工作模式)安装配置路径路由跳转不携带参数跳转携带参数跳转?形式携带参数地址中直接携带参数
相关API多级路由路由守卫两种工作模式hashhistory配置
安装
cnpm install -S vue-router
配置路径
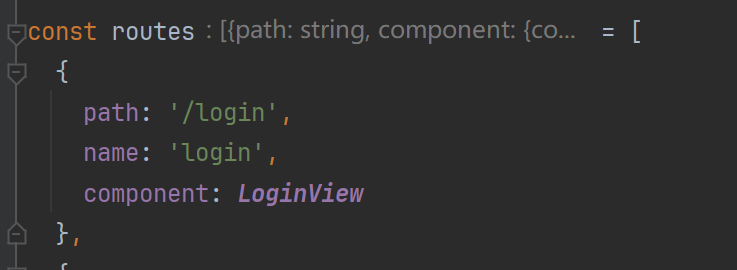
创建文件:src/router/index.js // index.js import VueRouter from 'vue-router' // 导入router import LoginView from '@/views/Login.vue' // 导入组件 Vue.use(VueRouter) // 使用插件 // 创建路由 const routes = [ { path: '/login', // 组件路径 name: 'login', // 组件名 component: LoginView // 组件实例 }, ] // 创建router实例 以及设置配置 const router = new VueRouter({ mode: 'history', // 路由模式 history不带#,hash带# base: process.env.BASE_URL, // 基础url为BASH_URL routes // 引入routes变量存放路由信息 })main.js 中使用 // main.js import router from './router' // 引入 new Vue({ router, // 装载router store, render: h => h(App) }).$mount('#app') 路由跳转路由跳转参数根据组件配置的路由而定:
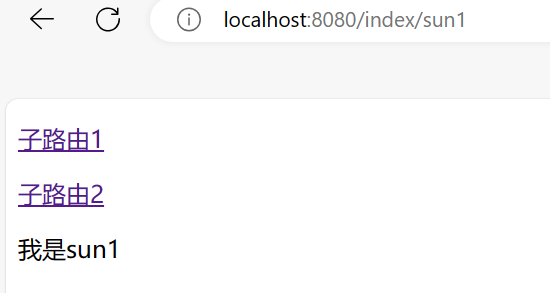
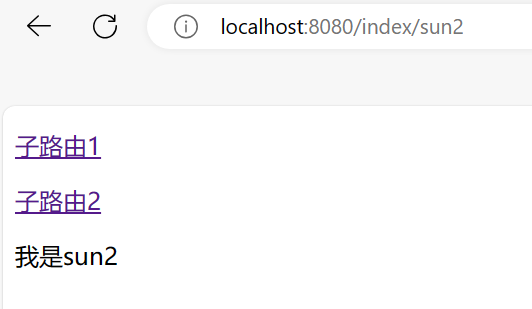
需求:在同一个html页面中,左边有两个跳转链接负责切换组件,右边展示不同的组件,仅以切换路由为示例 // 子组件1 export default { name:'sun1' } 我是sun1 // 子组件2 export default { name:'sun1' } 我是sun2 export default { name: 'Index', } // 切换组件 子路由1 子路由2 // 展示区 // 注册路由 import Index from '@/components/index.vue' import sun1 from '@/components/sun1.vue' import sun2 from '@/components/sun2.vue' const routes = [{ path: '/index', name: 'index', component: Index, children:[ { path:'sun1', component:sun1 }, { path:'sun2', component:sun2 } ] },]
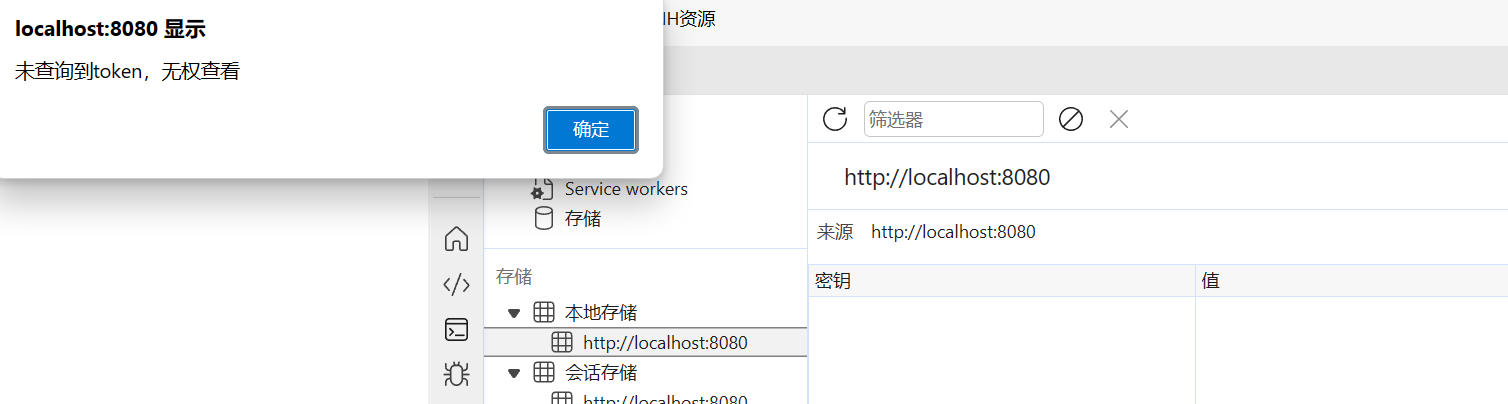
路由守卫会在用户访问某个路由之前提前进行判断检查和各种操作,确保用户已符合规定的方式访问路由 全局前置守卫 beforeEach:在路由导航前执行,用于权限验证、登录状态检查等全局解析守卫 beforeResolve:在导航被确认之前,解析组件时被调用全局后置守卫 afterEach:在路由导航后执行,用于页面访问记录、页面埋点等路由独享守卫:在单个路由配置中定义的守卫,仅对该路由生效组件内守卫:在组件内部定义的守卫,用于监视组件的生命周期和路由变化全局前置守卫示例: // src/router/index.js router.beforeEach((to,from,next)=>{ console.log('我是前置路由',to,from) if (localStorage.getItem('name')) { //判断是否需要鉴权 next() } else { alert('未查询到token,无权查看') } })此时访问路由不会返回任何东西,并触发函数
当添加token后便能正常访问
src/router/index.js // Vue2默认history模式 const router = new VueRouter({ mode: 'hash', base: process.env.BASE_URL, routes })浏览器输入:http://localhost:8080/#/home/其他与history基本没有区别 |

【本文地址】